
Have you ever heard of the cyanotype process? This photographic technique discovered in 1842 that uses sunlight to transform pressed plants or flat objects into stunning works of art. With this unique, relaxing technique, you could craft postcards, bookmarks or wall decorations.
I’ve always wanted to try cyanotype with my little girls, but with so many ongoing DIY projects, I haven’t had the time to plan a dedicated workshop for us until now.
While searching for fun activities to do in Brittany during my summer holidays, I discovered a charming place called La Gacilly, which is dedicated to both art and nature. This town is indeed the birthplace of Yves Rocher, a French businessman who created his eponymous brand in the 1959 to produce and sell plant-based beauty products for women. In the Yves Rocher botanical garden, I discovered a cyanotype workshop that takes place every day. I immediately booked three tickets for myself and my two girls.
Warning: this fun activity can be addictive!
You may find yourself wanting to redecorate your home using this technique!
- Collect flat plants or objects
- Create a background for your artwork using the cyanotype mixture
- Arrange your pressed-plants on your piece of paper
- UV / Sunlight magic
- Rinse off & let it dry
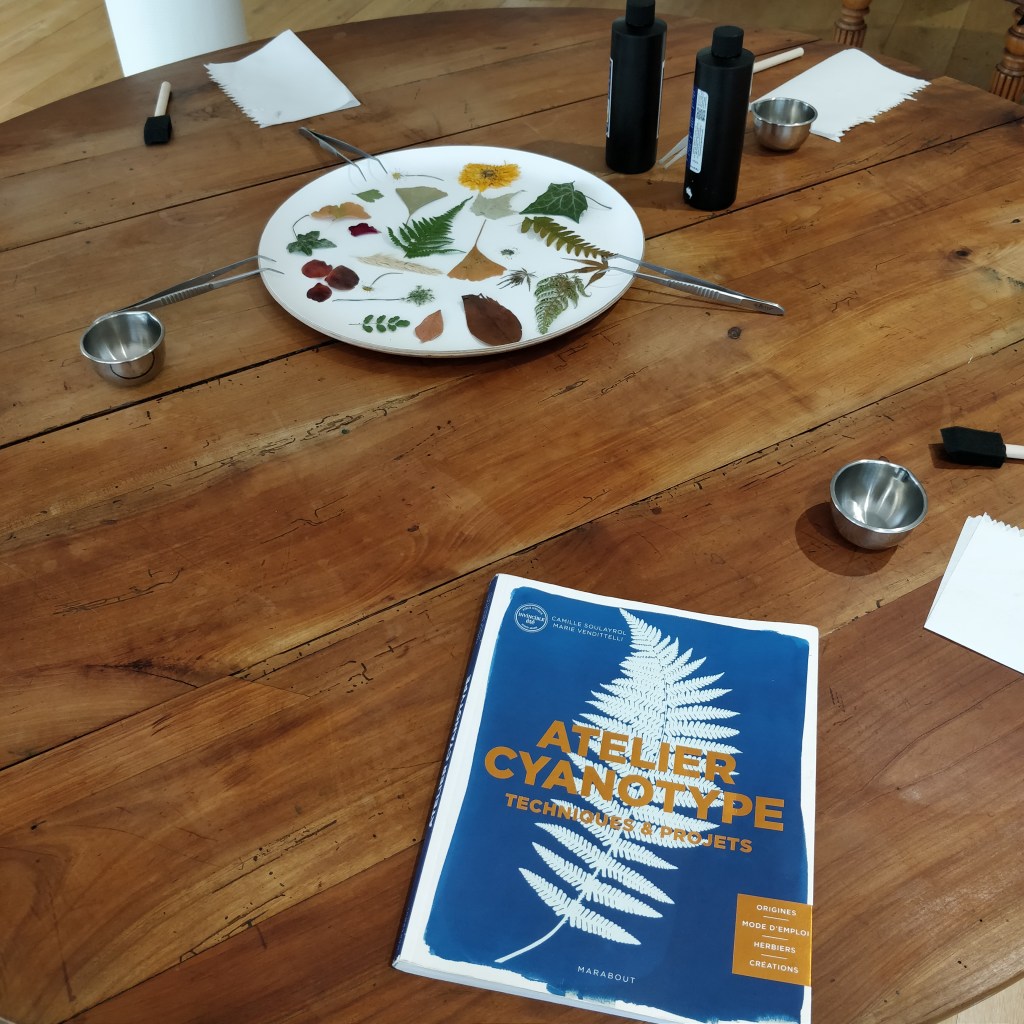
- Required materials:
- To go further:
Collect flat plants or objects
The first part of the workshop involved wandering across the beautiful Yves Rocher botanical garden to see what we could use for our activity. We only collected items what could be found at the ground level (as it is a public place).

You can find treasure in your own garden or during your walks through nature, or use any flat object!
Create a background for your artwork using the cyanotype mixture
In a non-plastic container (e.g. glass or tin), add the same quantity from the two cyanotype product bottles. We used a dedicated eyedropper labelled with the name of the product to avoid any unwanted mixing in the bottles.
Then, using a soft, flat paintbrush, mix the drops together and apply the greenish mixture to a thick piece of paper (we used 300 g watercolour paper): you could cover your entire page, leave a border or create an artistic blur.
Let it dry.
💡 Tips about the cyanotype process:
- You might want to secure your piece of paper with masking tape all around to prevent it from curling up when you apply liquid to it.
- From this step until the end, avoid direct sunlight or bright lights.
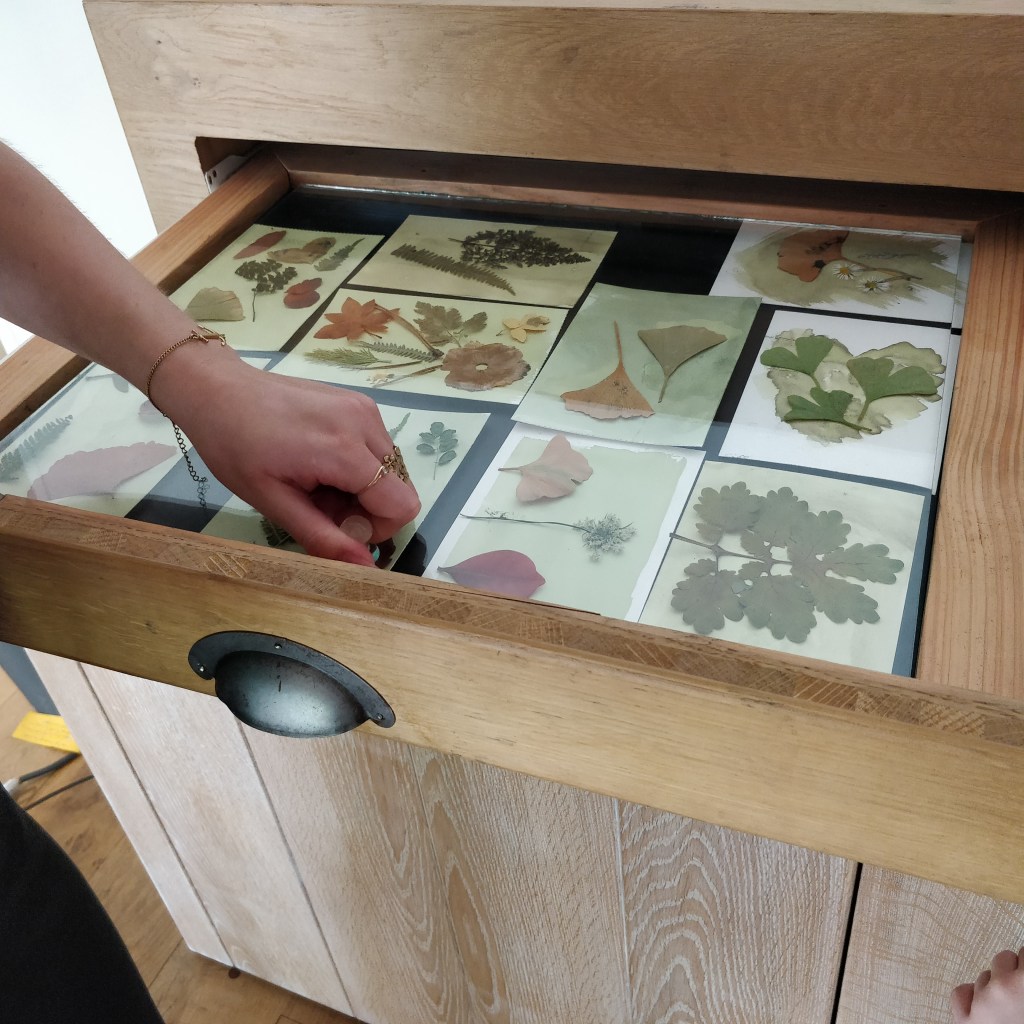
Arrange your pressed-plants on your piece of paper
Once your paper is dry, arrange your plants or other flat objects on it, following your inspiration.

💡 Some composition ideas:
- Place one plant in the middle of the paper to be the main subject of this artwork.
- Arrange several elements symmetrically or asymmetrically.
- Leave plenty of empty space to create a peaceful blue background.
UV / Sunlight magic
Once you’re happy with the arrangement of your elements, carefully place a piece of glass (or Perspex) on top and let the heat work its magic!
During the Yves Rocher workshop, we used a built-in heat machine to speed up the process a little, but you can keep it simple by just putting your piece of art in a sunny spot outside.
Wait until the greenish colour has turned brown. The duration may vary depending on your heating method and the strength of the sun in your region.
Rinse off & let it dry
The last step is the easiest: put your paper in a large bowl of water. You can gently rub all of the paper with your fingers. Pay particular attention to the edges of your shapes for a crisper result.
2 to 5 minutes should be enough for paper, but it can be longer for other material.
Then leave it to dry.
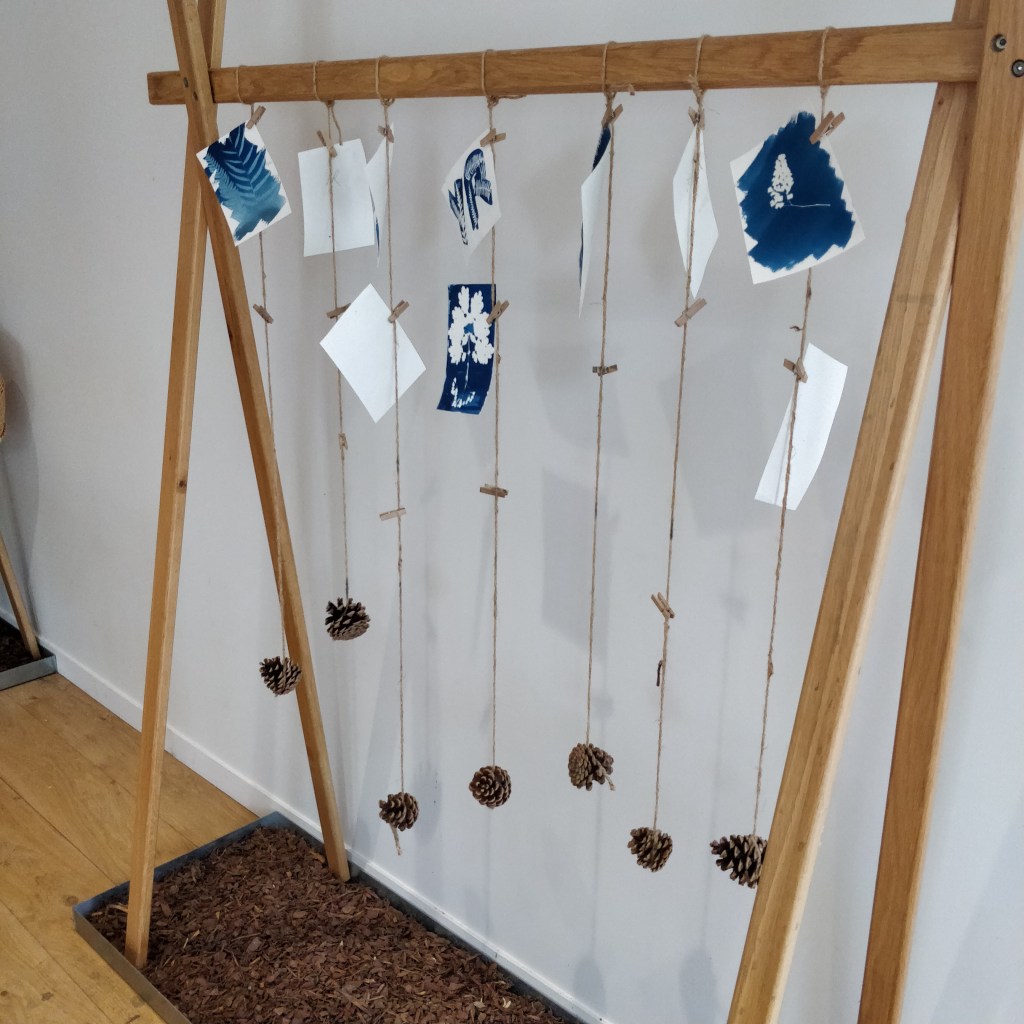
Well done — you now know how to make a cyanotype!
💡 Tips about the rinse off water:
- You can reuse the water for other cyanotype projects.
- Please dispose of your used water in the sewage system so that it can be cleaned.
Required materials:
- Thick watercolour paper
- Jacquard Cyanotype chemistry set
- Large, flat brush
- Non-plastic small container for the mixture
- Glass/plexiglass sheet
- A big bowl full of water
- Protection for your work surface (e.g. paper towel) and clothes, as this workshop can cause stains.
- Rags & towels
- Tweezes (optional)
- Masking tape (optional)
- Inspiration book (optional)
💡 Ideas:
Cyanotype can be done on any photosentive material such as paper, clothing, pebbles or wood.
To go further:
- Cyanotype process: https://fr.wikipedia.org/wiki/Cyanotype
- Cyanotype inspiration on Pinterest: https://fr.pinterest.com/search/pins/?q=cyanotype&rs=ac&len=5&source_id=ac_BbVpe2HY&eq=cyano&etslf=7880
- La Gacilly town https://www.destination-broceliande.com/decouvrir/incontournables/villes-villages/la-gacilly/
- Yves Rocher Cyanotype workshop (1h in the summer season): https://destinationyvesrocher.com/fr/experiences/atelier-pause-creative/


Leave a comment